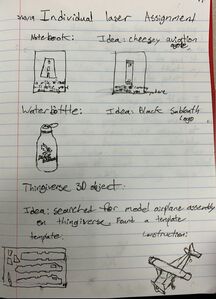
As with the other individual projects, this started with a brainstorm for what I would do in my designs, and then I wrote them down in my designer notebook. I decided on a band logo for the water bottle, an airplane for the 3D object, and a saying for the notebook.
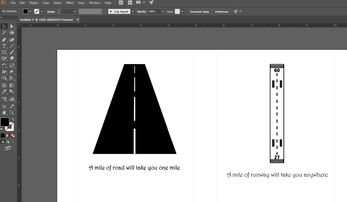
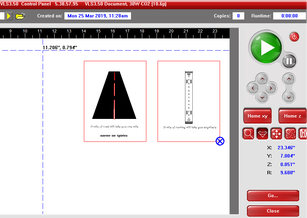
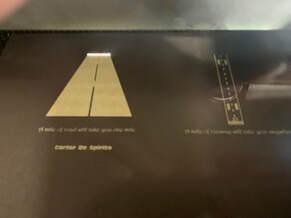
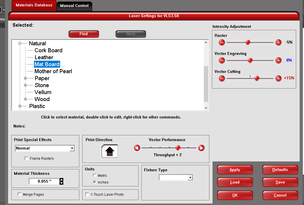
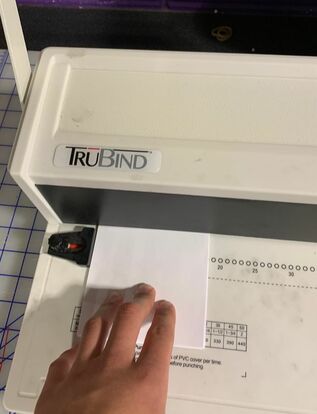
I started with the notebook project, it was created on illustrator and then sent as a file to the laser software, which allowed me to cut it out of the mat board as well as engrave it. After it was done I used the punch to make holes in the board and the paper and used a binding to finish it. Shown are the settings that I used, my inventor files, the laser set up and in work, putting it together, and the finished product.
|
|
|
|
|

|
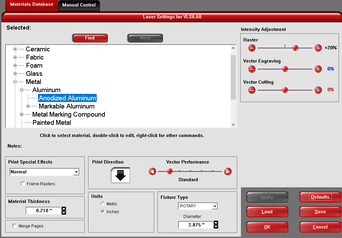
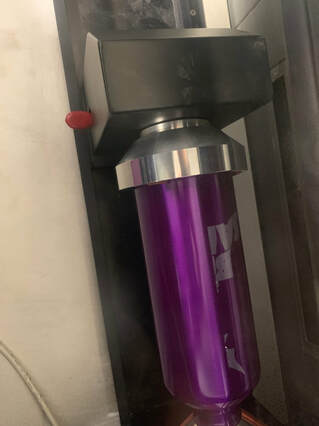
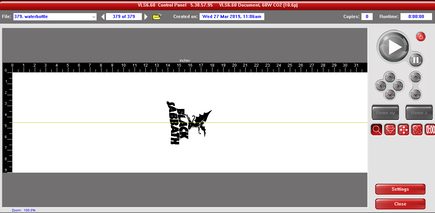
From here I moved onto the water bottle. I started with its design in illustrator, and then moved to the laser software which allowed me to use a rotary jig in order to engrave on the cylindrical surface. Shown is the illustrator file, the print and jig set up, printing in progress, and the finished product.
|

|
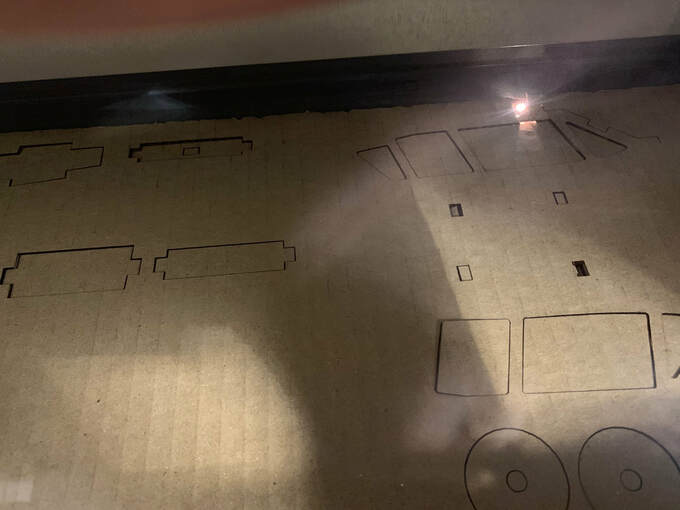
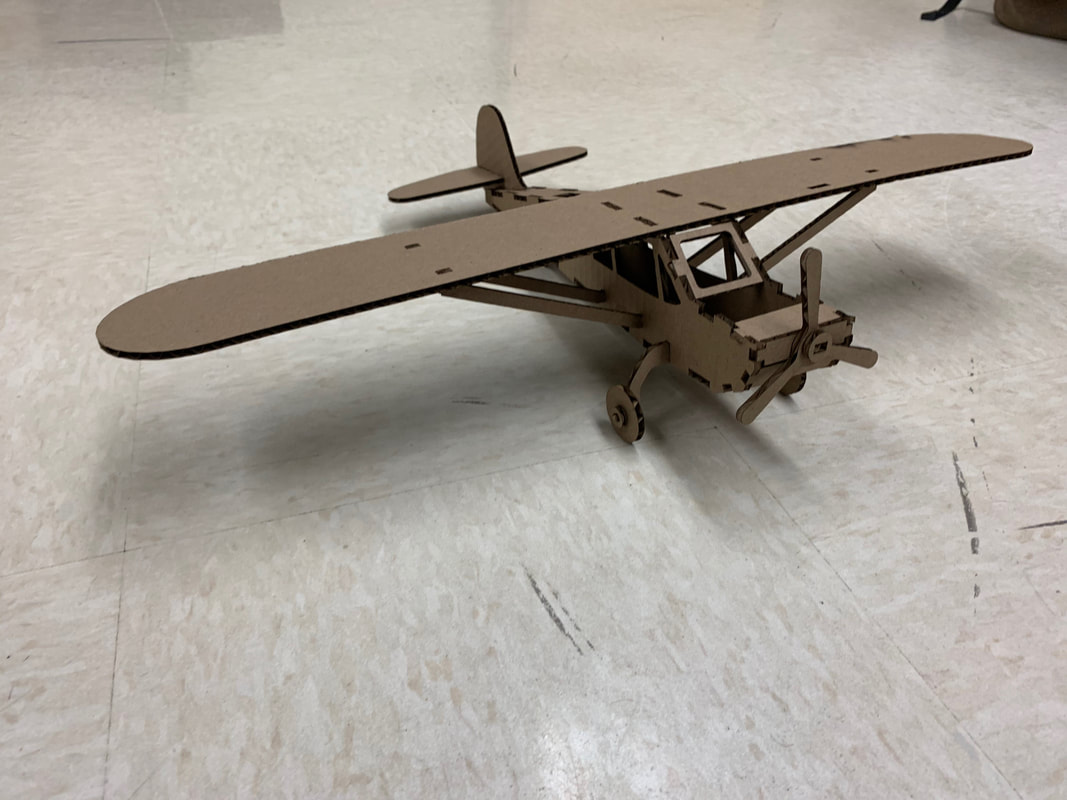
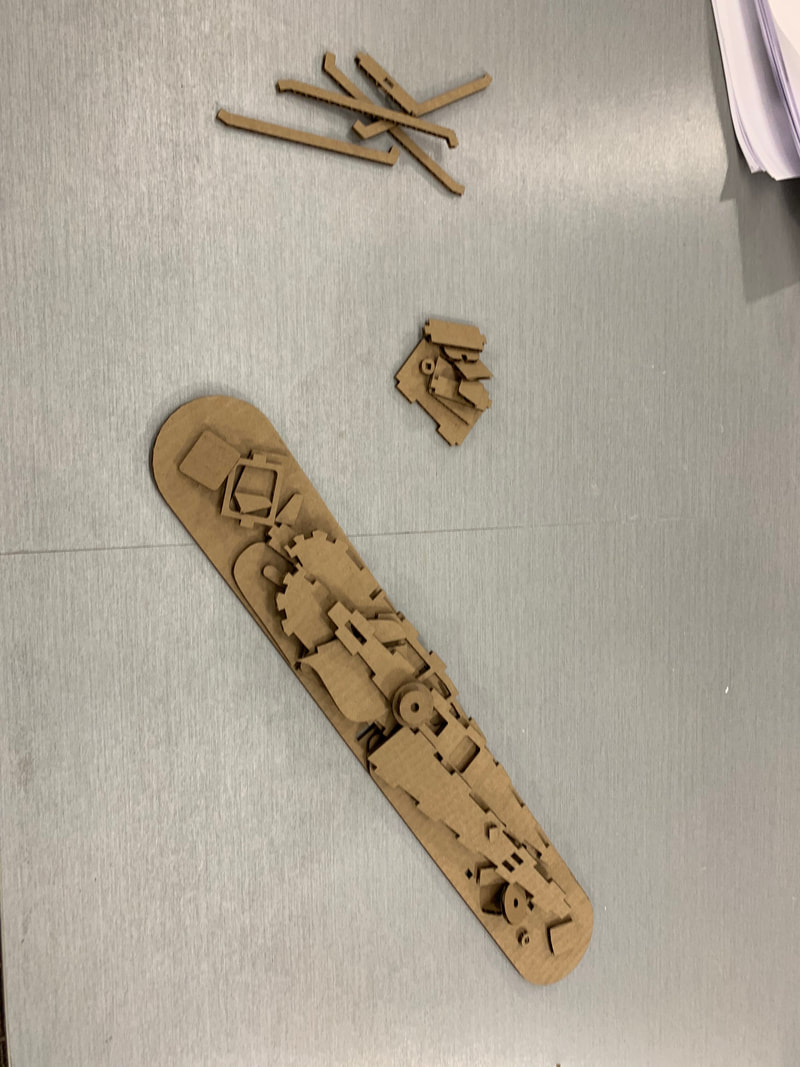
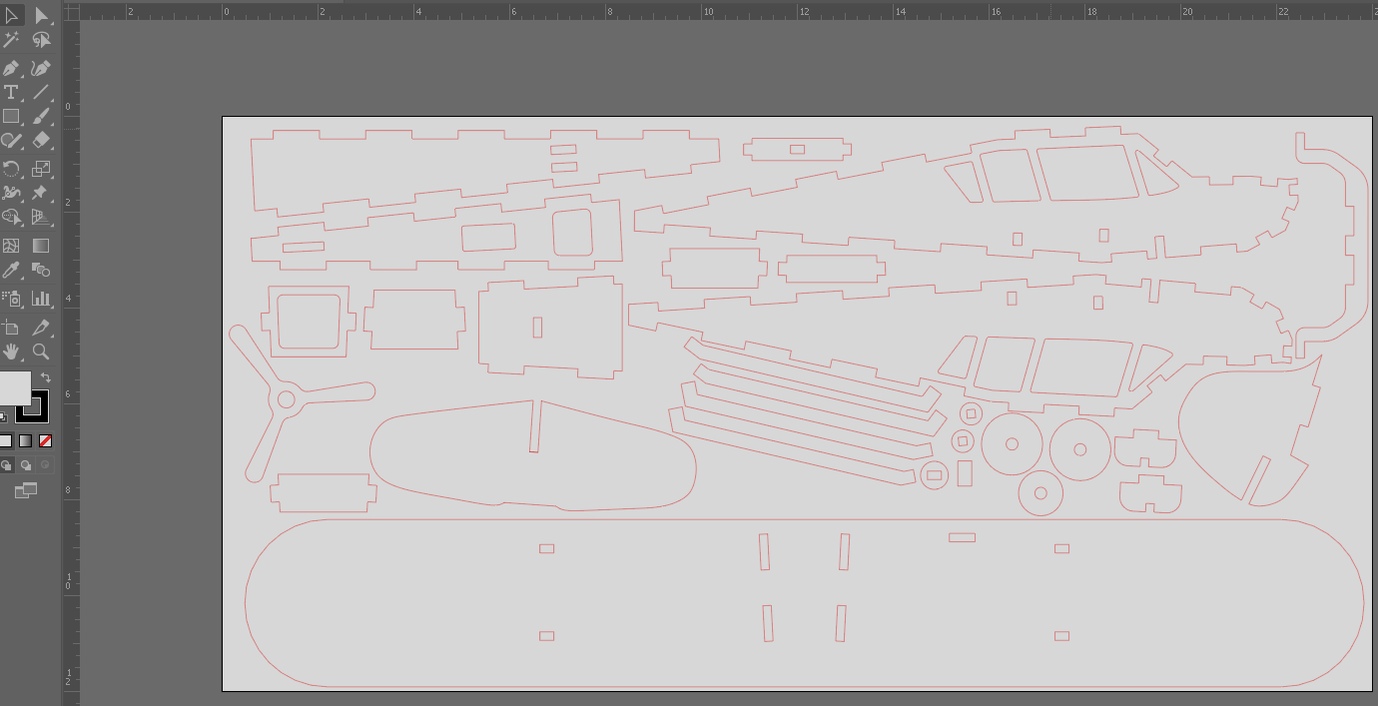
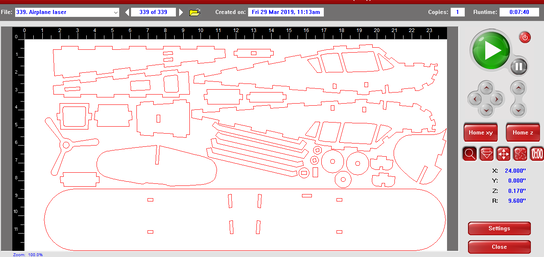
Finally I moved onto my thingiverse airplane. This project was the most involved, as I had to make the file fit onto my illustrator page, which forced me to cut out a piece after doing all of the other ones, in order to keep the scale correctly proportionate. Included are photos of the illustrator, the print set up and cutting, the pieces, and the final product.
|
|
|
|
Overall through out this project I learned a lot of things. I learned how to size objects properly for a thickness when doing the airplane, which is something you usually don't have to worry about when doing an online design. I also learned how to use the rotary jig, which I had used once before,but didn't know how to install. Finally, I learned how notebooks are made, something I had never really thought about before. Overall this project is one of my favorite ones I have ever done in a class, and I found it very beneficial.
