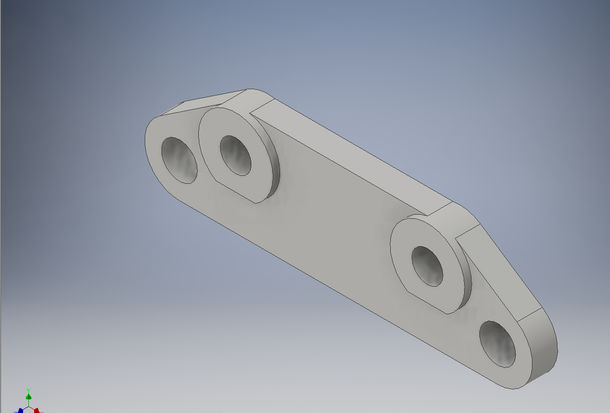
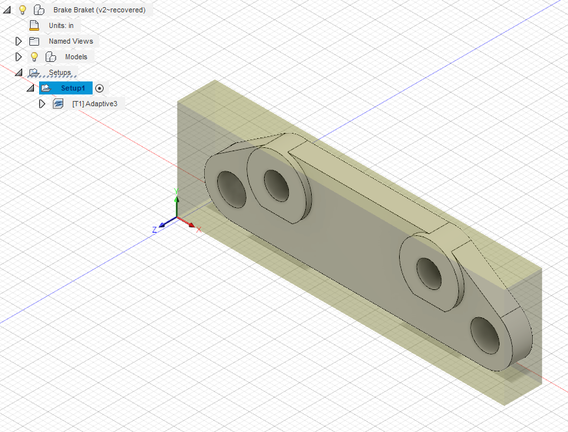
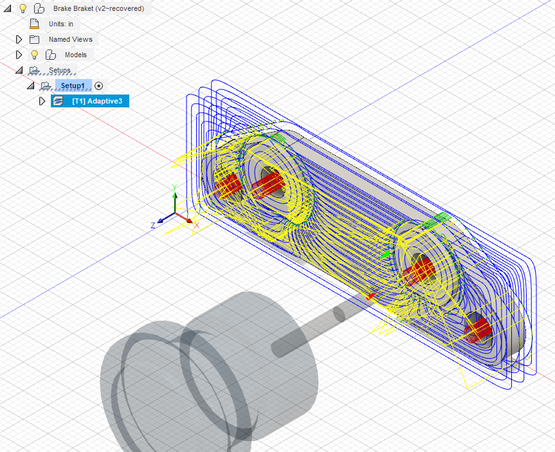
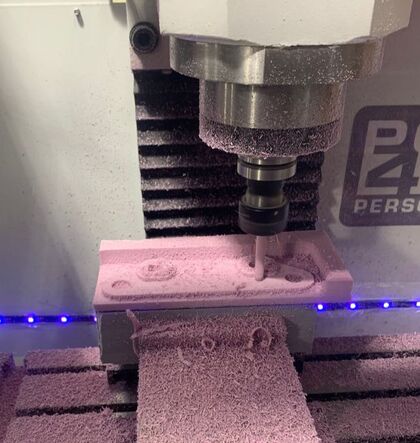
This project was a little bit different than most other individual projects because the object that we were making had to follow an exact plan. The first step in creating it was making the object in Inventor. From there I set up the file in Fusion 360, making sure that the stock box and tool path were correct (shown), and then I put the file onto a flash drive and brought it down to the CNC mill.
|
|
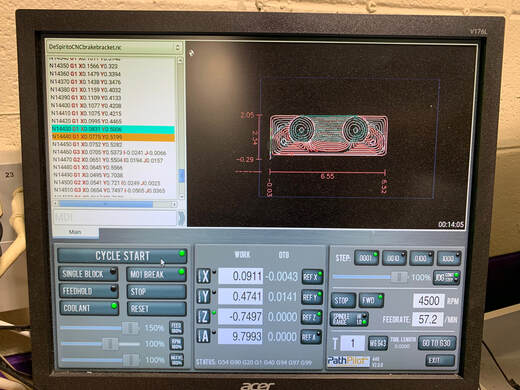
Once the file was copied from the flash drive into the CNC mill program, I had to jog the bit into place, making sure that it was on the front right corner, with the bit hanging off about halfway in both directions. Then I zeroed out all the axis's, hit cycle start, and then just watched the mesmerizing bit tear through the piece of foam. NOTE: Pictures shown are from my second attempt, as on my first attempt I had the stock box set up incorrectly and it reduced from the top down instead of the bottom up, leaving too much material on the back.
|
|
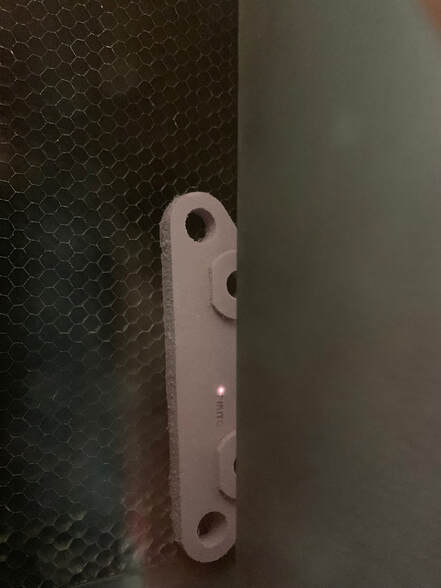
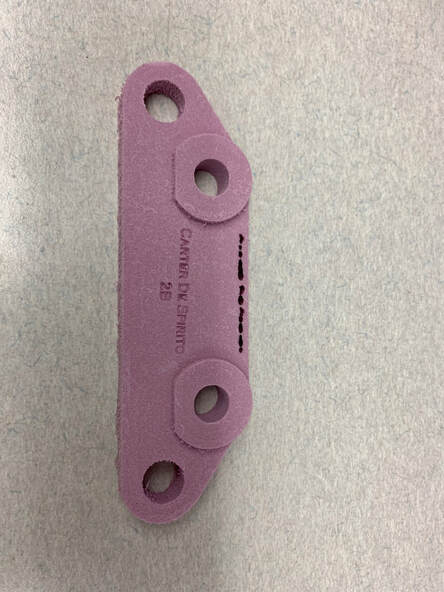
Once I had the brake bracket cut out, all I had to do was laser print my name on it. As you can obviously see by the image, I had some trouble with this. I originally had the color as black (like an idiot), which meant that it melted my foam. I fixed the color and reprinted, and boom, brake bracket, first try.
|
|
Throughout this project I learned a lot of things. The first of which is to always double check your stock box, because it's much more efficient to spend one minute checking that than restarting the entire bracket. Another thing that this project taught me was to make sure you remember what to do with text in inventor. I will never again forget to change the color or create outlines, I promise. Finally, through this project I learned that the most important thing to do when you make a mistake is try again as quickly as you can, because if I had let my mistakes get in the way, I may not have been able to finish as quickly as I did.
