Illustrator is another CAD software. Instead of using 3D imaging it creates images in 2D and allows users to create high quality digital art. In this unit we were able to put those files into a Laser printing software to create a key chain from the illustrator files. This software can be used to make many things, but our class also used it to make vinyl name tags on the vinyl cutter for our notebooks.
Key Chain - Step by Step

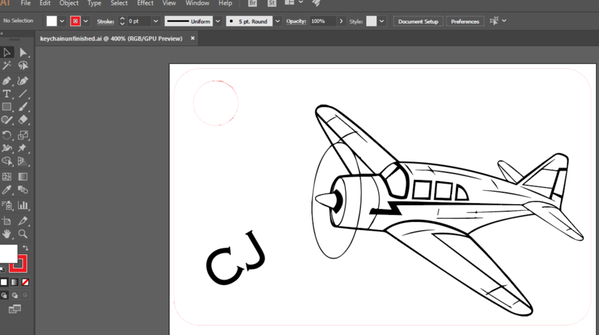
1. First you must create your key chain design in the Adobe Illustrator software. Make sure that the lines you need cut are at .0001 stroke and red, and your other things are in black and in vector format.
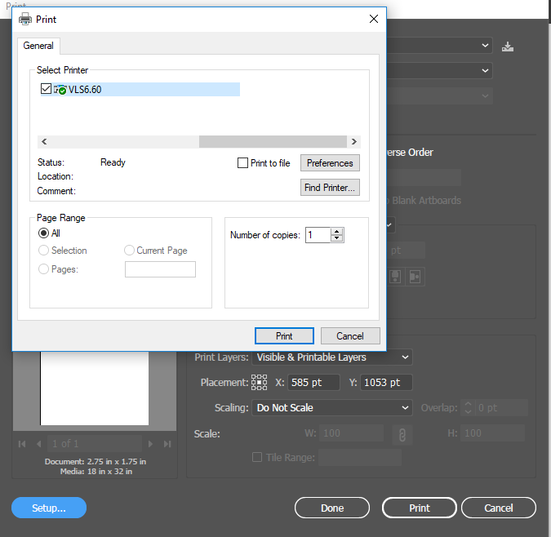
2. From here you should go down to the lap top by the lasers, log in, open your illustrator file and press print to the VLS6.60 and the set up which will bring this page.
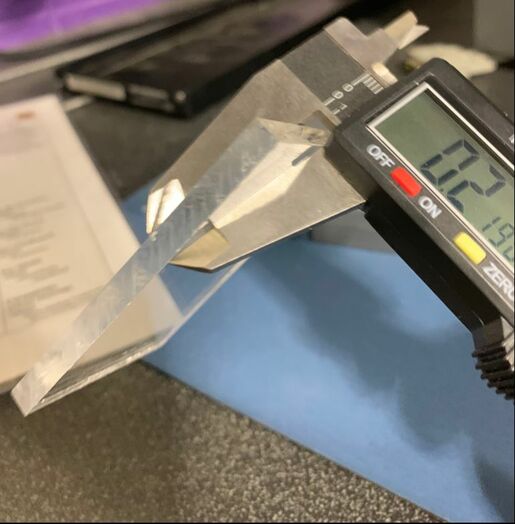
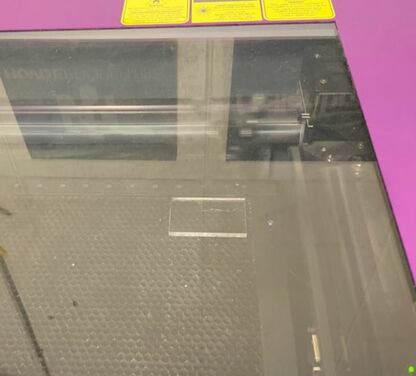
3. Use the digital caliper to measure the thickness of your acrylic.
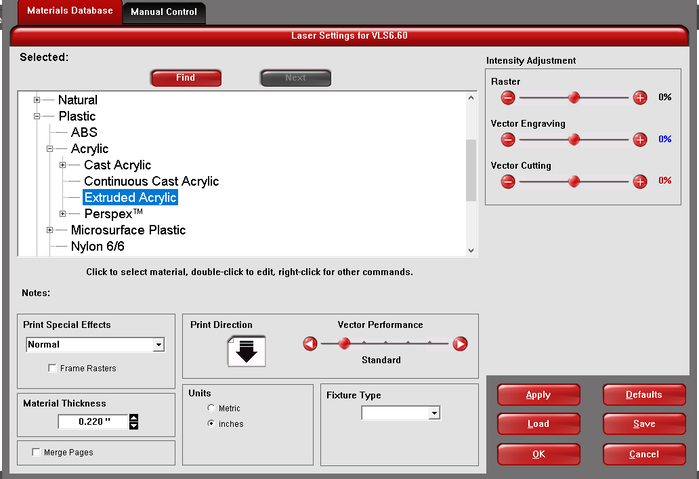
4. In preferences enter this thickness into the correct area, and then enter the material (extruded acrylic)
5. Open the UCP software and turn on the laser and the exhaust. Place your acrylic in the corner of the laser and then use the pointer tool to place the laser on one of the corners of the acrylic in real life, and then use the relocation tool to select that corner and move your virtual key chain to that area. Place the pointer tool on all four corners to make sure that the design will stay on it.
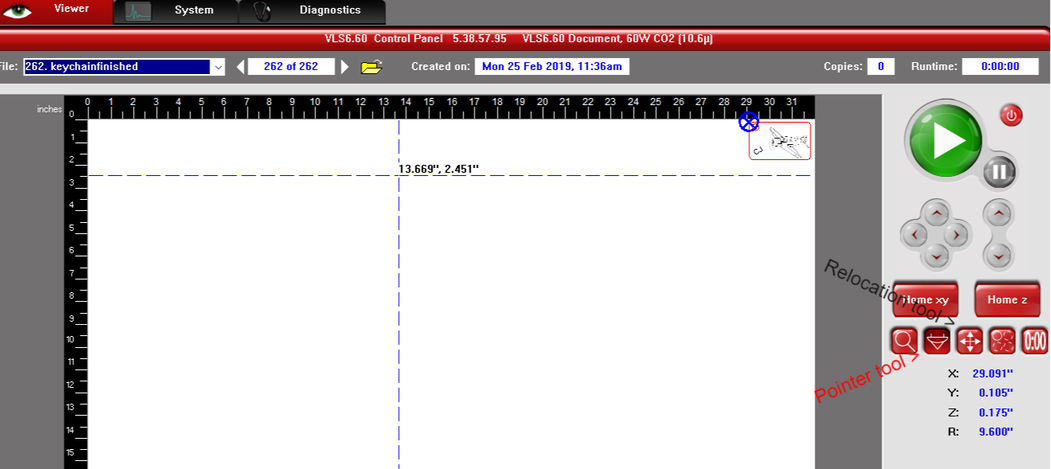
6. Once you are sure that the laser is correctly lined up you may press the green play button, (remember that this is only for on the computer, never touch the buttons on the machine) and then your key chain will start printing!
Vinyl
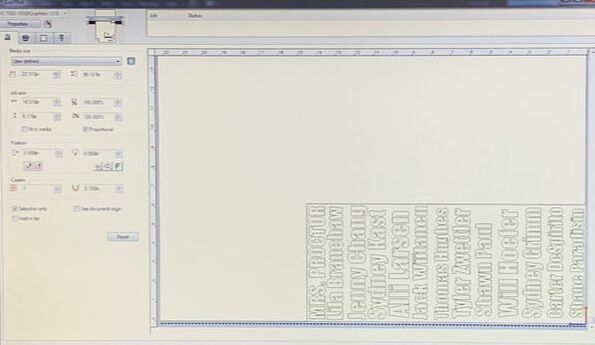
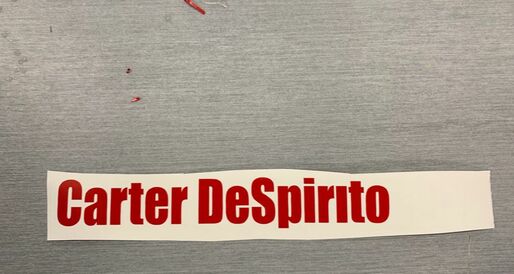
1. The first thing that you have to do is put your name into an Adobe Illustrator file.

2. Then when in the print preferences, make sure that the file is oriented correctly so that it faces the area that takes up the least amount of vinyl.
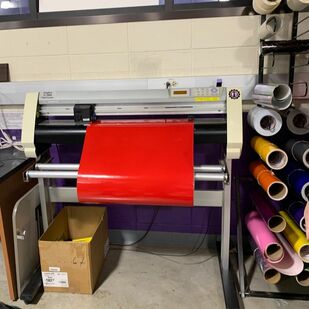
3. Then load on your Vinyl roll onto the front roll, place the wheels on the top as close as possible to the edges, while making sure they are over a roller on the bottom, then pull up the purple lever from the back to lock it in place. Then hit the button next to "Roll one Front set", and press enter, once the machine is done measuring and says ready you may hit send for your cut out.
4. After your name has been cut out you have to pull the utility knife along the ridge to get your vinyl section off the role. Then once you have your name it is important that you peel off the excess vinyl, including weeding to make sure you don't have holes covered up.
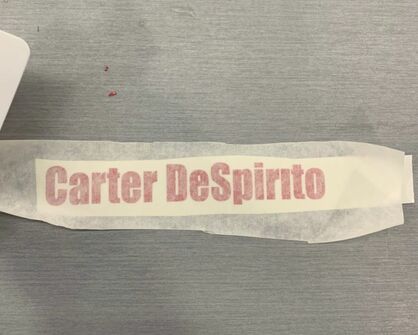
5. From here you need to place the transfer tape over your name and squeegee it to make sure that the tape has adhered to it.
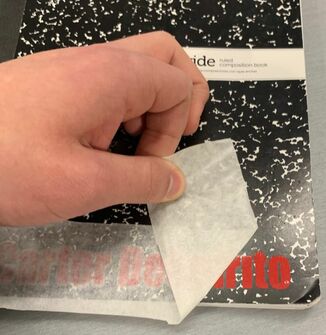
6. Then peel up the tape and make sure all of the letters come with the tape. Then you may place it onto the notebook, and peel off the tape, pulling it back onto itself as shown in this image.
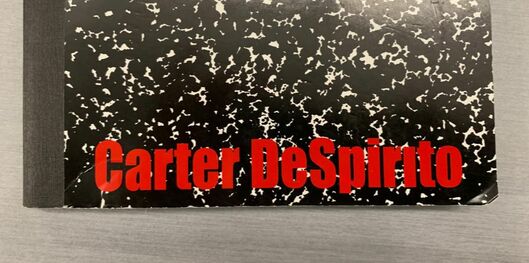
7. Your product is now completed!
I learned many things from this project. First among them is that you need to make sure you have some room between the laser and the edge of your material, and I learned this the hard way because my key chain kind of lit on fire in the laser printer. Besides this I was also able to become more affiliated with Adobe Illustrator, which was good because I knew that it was a very applicable program to today's society. I also learned how to run the vinyl cutter which was useful as I had to use it for my first individual project.
